Key takeaways
- Everything in the queue is the batch: shared settings for resize, format, watermark and border; crops are stored per image.
- Pixcut decodes one full-size image at a time, so a large batch uses about as much memory as a single photo while it runs.
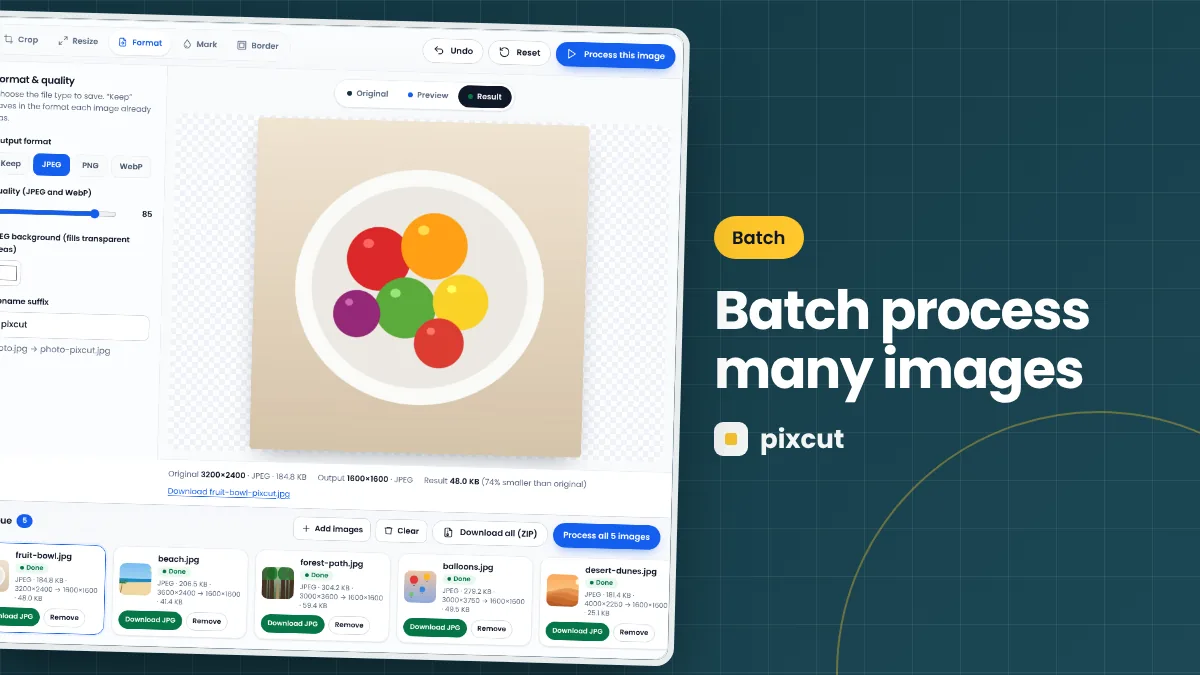
- Every card shows its own status — Checking, Ready, Processing, Done, Outdated or Error.
- A failure on one file never stops the others.
- Download files one by one, or all at once as
pixcut-images.zip.
Why batch processing saves more than time
The obvious benefit is speed: one set of decisions replaces dozens of repeated clicks. The less obvious benefit is consistency. When every image in a product catalogue, blog archive or social series goes through identical settings, the result looks deliberate. Sizes match, watermarks sit in the same place at the same proportion, borders are identical and file names follow one pattern. Hand-editing images one at a time almost always introduces small differences that make a collection look untidy.
How a batch works in Pixcut
A batch is simply everything in the queue. The settings you choose in the Resize, Format, Mark and Border tabs are shared by every image. Crops are stored per image: a chosen ratio is applied as a centred crop to each picture, and any image you adjust by hand keeps its own framing.
When you press Process all images, Pixcut works through the queue in order. For each file it decodes the untouched original, applies crop, resize, border and watermark, encodes the output and moves on. Only one full-size image is decoded at a time, which keeps memory use far lower than opening the whole folder in an editor.
What stays on your device
Every step runs in your browser tab. The files are never uploaded, which is why a 200-image batch starts instantly even on a slow connection. See removing metadata from photos for what the exported files do and do not contain.
A complete batch, step by step
- Add the files. In the file dialog, select several images with Ctrl/Cmd-click or Shift-click, or drag a selection from your file manager onto the editor. Add more at any time with Add images.
- Wait for “Ready”. Each file is checked for genuine JPEG, PNG or WebP content and decoded once to read its size and create a thumbnail. Unsupported or damaged files show Error with a reason and do not block the rest.
- Choose the shared settings. Pick a crop ratio, a resize mode, an output format and quality, and optionally a watermark and border.
- Check two or three images. Select a tall image and a wide image and look at the Preview view for each. Problems usually show up on the extremes.
- Fix individual crops. Select any image whose subject is off-centre and drag its crop box.
- Process. Press Process all images. A progress line counts through the batch, and each card changes from Processing to Done or Error.
- Download. Use each card’s Download button, or Download all (ZIP) to save everything at once.
Understanding the status labels
| Status | Meaning | What to do |
|---|---|---|
| Checking | The file is being read and validated. | Wait a moment. |
| Ready | Valid and waiting to be processed. | Process when your settings are final. |
| Processing | Being rendered and encoded right now. | Leave the tab open. |
| Done | An output exists and matches the current settings. | Download it. |
| Outdated | An output exists, but settings changed afterwards. | Process again to update it. |
| Error | The file could not be used or processed. | Read the message on the card. |
The Outdated label exists so you never ship a mix of old and new exports by mistake. Its download button still works, but it delivers the version made with the earlier settings.
Making a batch look consistent
Use “fit inside” sizing for mixed orientations
Enter both width and height with Keep aspect ratio ticked. Portrait and landscape images will both fit the same box without distortion. For example, a 2000 × 2000 box turns a 6000 × 4000 landscape into 2000 × 1333 and a 4000 × 6000 portrait into 1333 × 2000.
Use a fixed ratio for grids
Galleries and shop grids look tidiest when every image shares one shape. Choose 1:1 or 4:5 in the Crop tab and every image is cropped to that shape automatically.
Let watermarks scale with the image
Pixcut sizes text and logo watermarks as a percentage of each image’s width, so a mark looks identical on a 1200-pixel image and a 6000-pixel image. More in adding watermarks.
Name outputs clearly
The filename suffix (default -pixcut) keeps processed copies apart from originals. Use something meaningful such as -shop or -web. Inside a ZIP, duplicate names automatically receive -2, -3 and so on.
How large can a batch be?
Pixcut does not limit the number of files, but every browser has a memory budget. During processing only one full-size image is decoded, yet finished outputs stay in memory until you download them or clear the queue.
- Desktop computers: batches of a few hundred typical web-sized images are usually fine.
- Phones and tablets: work in groups of about 20–50, especially with photos above 12 megapixels.
- Very large files: individual files over 100 MB or images over 100 megapixels are refused by design.
If a batch is large, process it in parts and clear the queue between parts. Clearing releases every image, preview and result from memory.
About the ZIP download
Pixcut builds the ZIP in your browser using the “store” method: files are packed without extra compression, because JPEG, PNG and WebP are already compressed. The ZIP is therefore roughly the size of all the images together, and it is created in seconds. Some browsers ask permission before a page saves several separate downloads; a single ZIP avoids that prompt.
When something goes wrong
- One card says Error: read its message. Common causes are HEIC, GIF or AVIF files, damaged files, or an image too large for the device’s memory.
- The tab reloads during a large batch: the browser ran out of memory. Split the batch, choose a smaller output size, or use a desktop computer.
- Cards say Outdated: settings changed after processing. Press Process all images again.
The troubleshooting guide explains each case in detail.
A worked example: 60 product photos
Imagine a small shop with 60 new product photos from a phone, each about 4000 × 3000 pixels and 3–5 MB.
- Add all 60 files. They show Ready within a few seconds.
- Choose 1:1 in Crop. Click through the cards and adjust the three or four photos where the product sits off-centre.
- Resize to width 1600, Format JPEG at 85, suffix
-shop. - Process all. Each card turns Done and shows its new size — typically a few hundred kilobytes instead of several megabytes.
- Download the ZIP and upload the contents to the store.
The whole job takes minutes, the grid is perfectly consistent, and nothing was uploaded anywhere except to your own store.
Batch checklist
- Settings tested on a tall and a wide image
- Crops checked on every image with an off-centre subject
- Suffix set so outputs are easy to recognise
- No cards showing Error or Outdated before downloading
- Queue cleared after downloading to free memory
Best practices
- Sort before you start. Group images that need the same treatment — for example product shots separately from lifestyle shots — and process each group as its own batch.
- Name the source folder clearly. When outputs come back as a ZIP, a clear origin makes it obvious which originals they belong to.
- Keep originals out of reach. Download results into a new folder so processed copies never overwrite or mix with originals.
- Spot-check at full size. Thumbnails hide problems. Open three or four results at 100% before uploading the whole set.
- Clear the queue between jobs. Clearing releases every image from memory and avoids accidentally re-processing old files with new settings.
Common questions
Can different images have different settings?
Crops can differ per image. Resize, format, watermark and border settings are shared. To give a subset different settings, process that subset separately, download it, clear the queue and continue with the rest.
Do I have to wait for the batch to finish before downloading?
No. Each card gets its Download button as soon as it is done.
What happens if I close the tab?
Everything in the queue is released. Download results before closing; Pixcut has no server copy to restore.
Is batch processing slower on phones?
Yes. Encoding speed depends on the device. A modern phone handles typical photos in well under a second each, but large originals take longer.
Can I reorder images in the queue?
Not at the moment. Images are processed in the order they were added. The order only affects processing sequence, not the results.
Tip: before processing a large batch, test the settings on two or three representative images. It is faster to correct a setting once than to re-download 200 files.
Summary
Batch processing turns a repetitive afternoon into a few minutes of decisions. Choose the shared settings carefully, test them on the most extreme images, fix the individual crops that need it and let Pixcut work through the queue. The per-image status means you always know exactly which files are finished, which failed and which no longer match your settings. When the job is done, download the ZIP and clear the queue so the next batch starts fresh.
Try it now — your images stay in your browser.
Open the Pixcut editor